


How I built an internet radio on a budget
Creating an internet radio is a super interesting project that allows you to learn about different themes around technology.


Creating an internet radio is a super interesting project that allows you to learn about different themes around technology. On this page, you can discover how I built an internet radio at my high school and the steps you can follow to create your own with a single Raspberry Pi.
The background
Since I came to São Pedro do Sul’s high school, one of the wishes of almost all the students was to have a radio at their school. However, like all public schools, ours had difficulties when the subject was money.
But, I felt that a school radio would be a major benefit for the students, allowing them to share their stories and projects and build connections with each other.
With the project Jovens AESPS, I first created a simulation of a Radio on Youtube, where a small group of motivated students, coordinated by my friend Gonçalo Almeida, published some videos with news, music and personal stories to Youtube. It had a very positive response from many teachers and students. However, it wasn’t the radio of all the students I and the whole group wanted to create for the school. We felt that the students wanted a radio which they could hear during the school breaks and not just a small episode on Youtube. But that would have a cost…
So, when the opportunity to ask for money in the “Orçamento Participativo das Escolas” came out, I created a proposal to build a school radio.
The problem was that we were restricted to 500€, which for a huge project like this was a massive imposition.
In the past, our school had already had a radio, which was transmitted through wires throughout the school and used amplifiers and fixed speakers. We thought about repeating that architecture, but all the hardware the school had for that radio was outdated and buying all that again would easily pass the 500€ limit….
For that reason, I thought that the previous architecture of the radio would not be sustainable. And the problem was not only monetary! There would be the issue of requiring a student to select the songs for that day and we would have to do some changes to the school infrastructure.
So, to fulfil the wishes of the students we would have to think about a different way.
That was when I thought about the creation of an Internet Radio, which could be easily done with a single computer.
After that thought, I had a week of intense research where I analysed the different hardware alternatives and some software we could use.
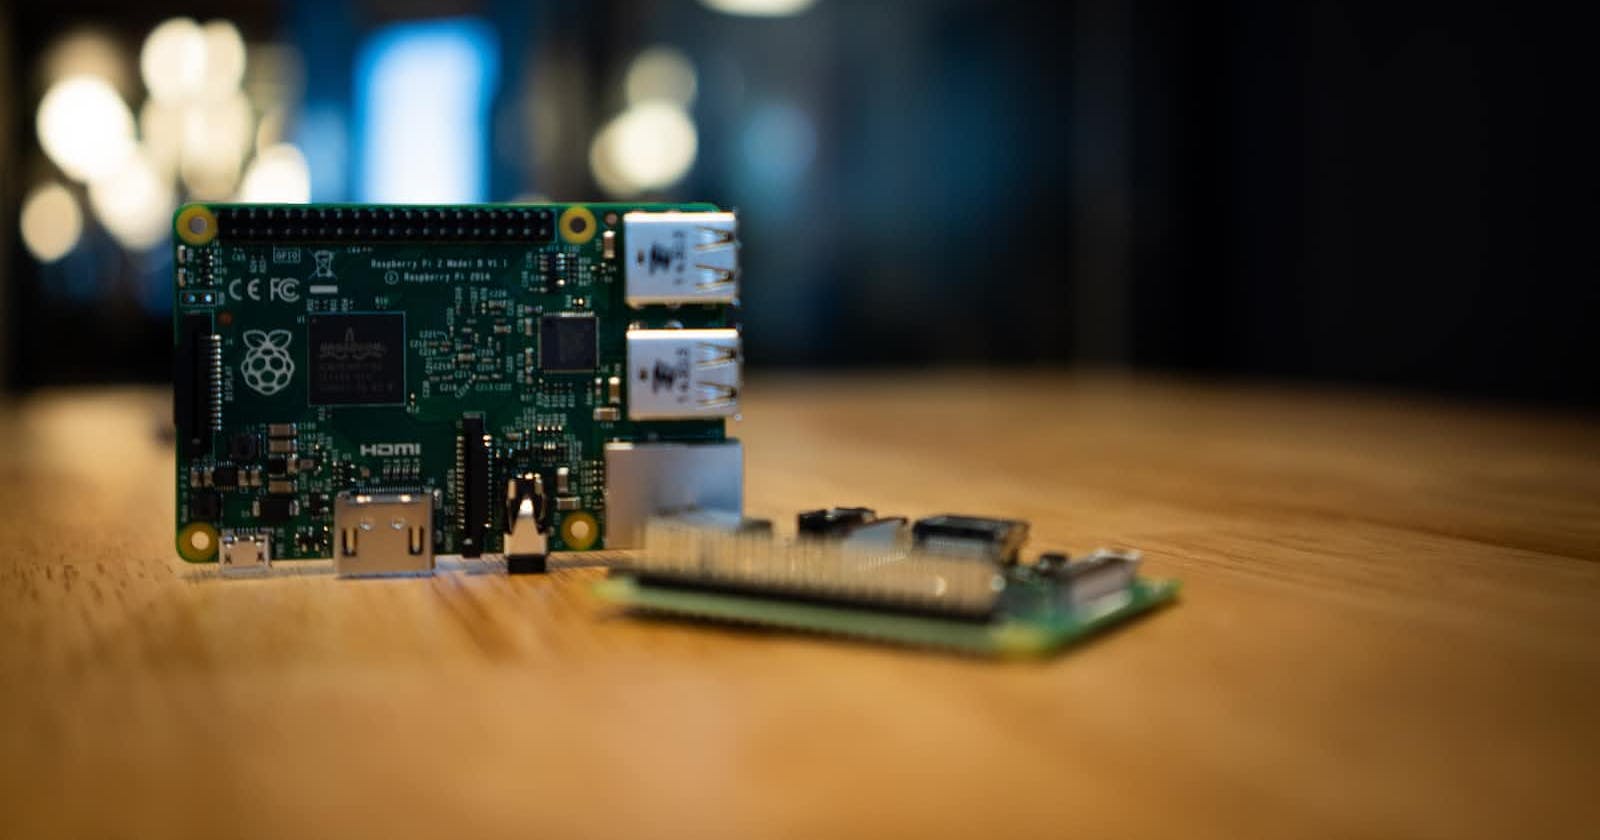
For the computer, I had an easy choice! I had recently fallen in love with the simplicity and performance of the Raspberry Pis and I rapidly noticed they would fit perfectly in this project!
For the speakers, I knew I was in trouble… My knowledge of sound quality and sound was not very vast and the specifications of the numerous speakers I found online were definitely not helpful. Each company advertised different specifications, making the task of comparing all the products extremely hard.
After a lot of time reading reviews and considering what would be more important for our school, I finally reached a decision.
We annexed the budget with the proposal for the “OPE” and won the elections.
Many months later, the equipment arrived at the school, so it was time to build!
You can check this page to know the main steps I took from that day on to make the radio work!
So, let’s jump right in!
An overview of my idea
To understand the choices I made, I think it’s useful if I explain the infrastructure of our school and the limitations I had to face.
First, our school internet connections were very well designed, which made my work way easier. All the traffic is routed to a unique internal DNS server (which is the one that is responsible to block traffic to untrusted websites). Additionally, it was possible to connect to any computer in the network from the various Wi-Fi connections and the ports we were opening on the server were never blocked.
I would definitely recommend viewing this video from Harvard, which explains the way the Web works and all the hardware that is involved in making the Web we know today possible.
Finally, as we wanted the radio to be heard around the whole school, I needed to set a static IP address to allow people and the other computers to know where to connect with the server.
With this in mind, many of the “design” choices made in this article are explained.
The basics
Having chosen a Raspberry Pi as the server, I knew I had a lot of dedicated online resources and documentation available for the simple operations.
And to guarantee compatibility between the board and the OS, I decided to choose the Raspberry OS 10 as the Operating System of the server. It is one of the OSs that Libretime, the program I used for the radio, is compatible with which even made the choice of OS easier.
After booting the SD card with this OS, we need to configure the Raspberry!
Logically, I then connected the Raspberry to an ethernet port and powered it on.
And, as explained before, we need to set a static IP address to the server.
You can check this article for more information about defining a static IP address.
Installation of the radio software
For this project, I decided to use LibreTime, as I needed software that was flexible enough to add shows and automate the choice of the songs.
Note that there are definitely other options, such as Azuracast and many others that may suit other use cases much better. On this page, I’m focused solely on LibreTime, so if you choose another program some of the details may be slightly different.
The installation of LibreTime is super easy: You only need to run the following commands:
git clone https://github.com/libretime/libretime
cd libretime
sudo ./install
Note that you should always verify the recommendations on the official documentation page.
Making your radio fully yours
With the software installed, you can now customize the settings to fit your needs.
The platform is extremely easy to use. To access it, just go to the IP address you defined earlier while connected to the same network the server is connected with the Ethernet cable.
As an example, in my school, it was possible to access the internet radio throughout the entire school at http://172.16.2.241/ or at http://piradio.local/ as the nameserver was designated “piradio” (by default, it will be “raspberry”, so you can access it at http://raspberry.local).
I will leave the customization to you. What’s important in this platform is to get the link where the stream is sent! And, you can find it on the “Settings” page.
It should be something like:
http://172.16.2.241:8000/airtime_128
Replace the “172.16.2.241” with the static IP you defined earlier.
Great! Now you have a fully working internet radio that you can access on your devices at your network!
Making your radio heard
So, what if you now want your radio to be heard at the school (or any other place) using some speakers connected to a computer, but don’t want to be manually turning it on and off every day?
To get into this step, you now need to enter the world of programming! Yeah!!
As I was learning Python at the time, I decided to build a program using that language.
The steps our program needed to take are the following:
- Decide if it should be transmitting the radio or not. The program will do this either by checking the time or by connecting to a URL.
- If it’s supposed to be on, connect to the stream and start playing the sound on the speakers.
- When it’s time to turn off, disconnect from the server and stop playing the radio.
- If it’s not supposed to be on, return to 1
- If it’s supposed to be on, connect to the stream and start playing the sound on the speakers.
And, that translated to code would look like this:
import urllib.request
from datetime import datetime
from time import sleep
import vlc

SEMPRETOCAR = True
SERVER_IP = "http://172.16.2.241"

def check():
    currenthour = datetime.now().hour
    currentmin = datetime.now().minute

        # This commented code is for experienced users only.
        # It retrieves the code sent by a server when requesting a certain page,
        # and decides whether it should stop playing depending on the code sent.

    #reqoff = urllib.request.urlopen(f"{SERVER_IP}/off.html").getcode()
        #while reqoff == 200:
    #    reqoff = urllib.request.urlopen(f"{SERVER_IP}/off.html").getcode()
    #    sleep(60) # Wait 60 seconds and check again

    if SEMPRETOCAR == True:
        if currenthour >= 8 and currenthour < 18:
            play(18,0)

    if currenthour == 8 and (currentmin < 28):
        play(8,28)

    if currenthour == 10 and (currentmin >= 1 and currentmin < 19):
        play(10,19)

    if currenthour == 11 and (currentmin >= 51 and currentmin < 59):
        play(11,59)

    if currenthour == 16 and (currentmin >= 1 and currentmin < 14):
        play(16,14)


# This function receives a time when it should stop playing
def play(hora, min):

    # -----  VLC CODE -----
    instance = vlc.Instance('--input-repeat=-1', '--fullscreen')
    player = instance.media_player_new()
    media = instance.media_new(SERVER_IP + ":8000/airtime_128")
    player.set_media(media)

    # Play
    player.play()

    while True:
        currenthour = datetime.now().hour
        currentmin = datetime.now().minute
        if currenthour >= hora and currentmin >= min:
            player.stop()
            return True # Stop playing

while True:
    diadasemana = datetime.now().weekday()
    if diadasemana < 5: # Do not play at weekends
        check()
        sleep(60)
    else:
        sleep(21600)
You should replace the static IP you defined earlier in the section of the code where we give a value to the variable “SERVER_IP”. Additionally, make sure that the port and the route to the stream are the ones defined here “instance.media_new(SERVER_IP + ":8000/airtime_128")”.
So, this is it! You now know how to create an internet radio from scratch and make it play on other computers using code! Congratulations!
I’m thrilled to see what you create with this knowledge! (Feel free to reach out at social media).
Or, if you are not into computers and informatics but want an internet radio set up, feel free to get in touch with me for professional help. I would love to help!